

How to Teach Digraphs in Year 1: A Simple Guide to sh, ch, th, and ck
Picture this: your six-year-old has been doing beautifully with their reading. They can confidently sound out simple words like “cat”, “mop”, and “sun”. Then, they turn the page and hit the word “ship”. You watch them painstakingly try to sound out every single letter: /s/ – /h/ – /i/ – /p/. They look up at you, completely confused, and either freeze or guess something totally unrelated.
It is incredibly frustrating, but take a deep breath! You aren’t doing anything wrong, and your child isn’t moving backwards. They have simply encountered a massive cognitive leap, and their young but brilliant brain needs a visual lifeline.
The Cognitive Leap: What is a Digraph?
Up until now, your child has relied on a very straightforward rule: one letter makes one sound. But as they move into Year 1, they begin encountering digraphs. A digraph is simply a combination of two letters that work together to represent one single speech sound, such as the “sh” in “ship” or the “ck” in “duck”.
When a young reader sees these complex, multi-letter spellings, they have to suddenly suppress their deeply ingrained instinct to sound out every single letter individually. If we simply hand them a book and expect them to naturally understand that these two letters have magically merged into one sound, it causes severe decoding fatigue. Overwhelmed by the mental strain, they will almost always abandon sounding out and revert to guessing words from the pictures instead.
The Screen-Free Fix: Visual Sound Boxes
To help their developing brain make sense of this leap, we need to provide a clear, physical boundary that shows them exactly how these letters team up. The most scientifically backed, screen-free way to do this is by using the “Elkonin Sound Boxes” method.
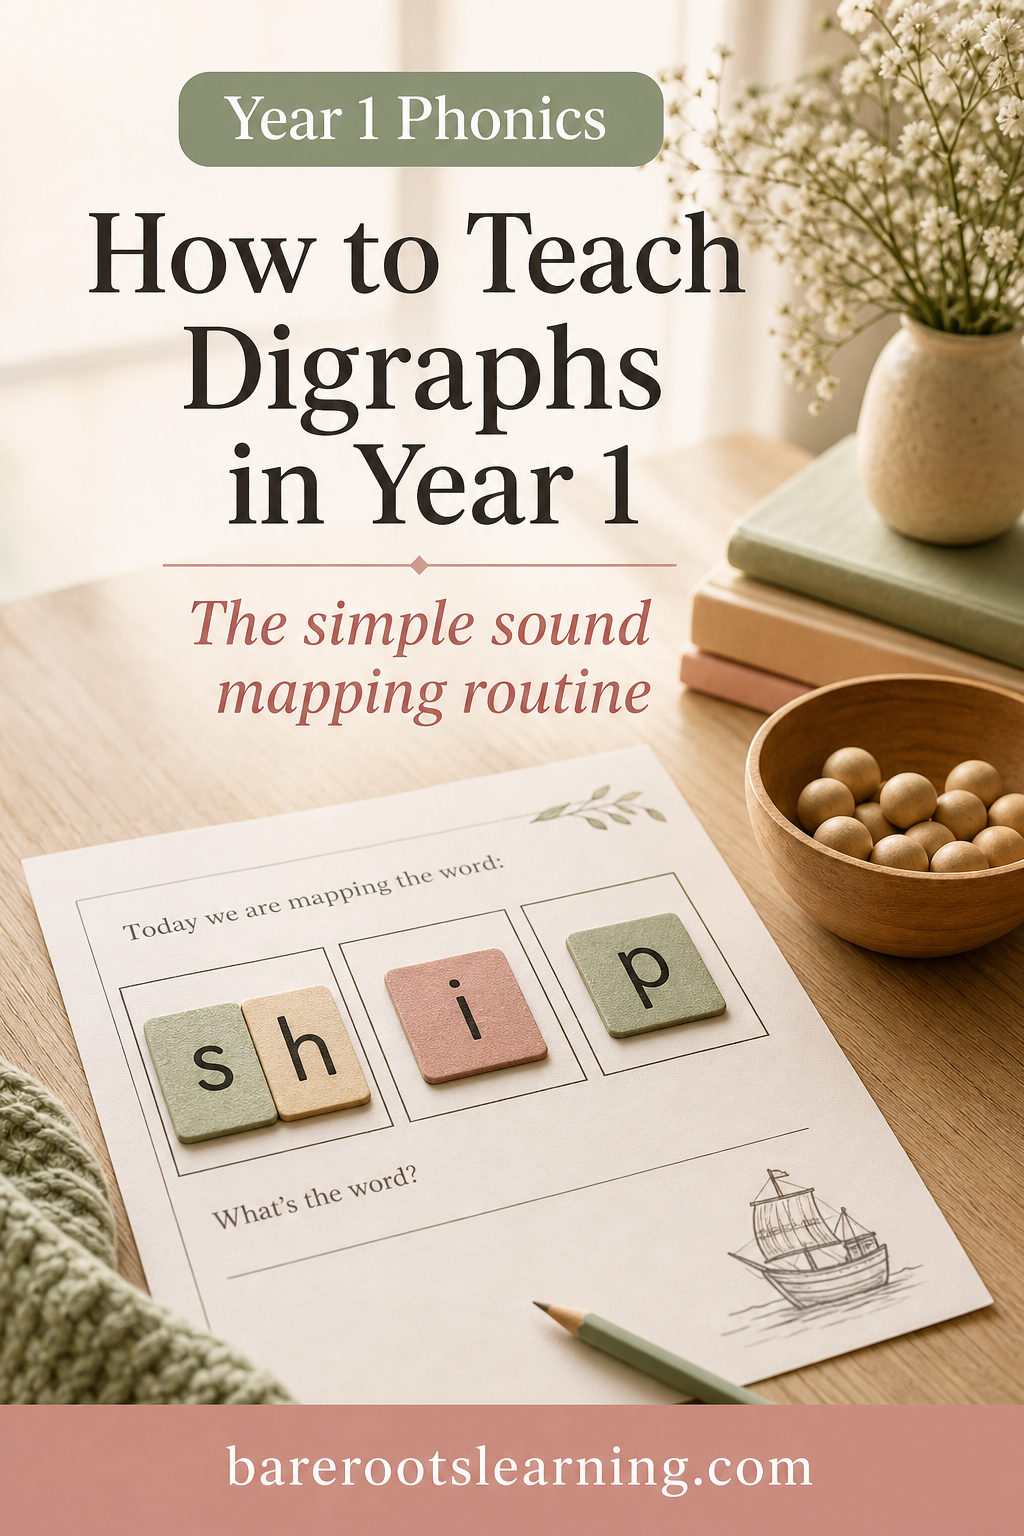
Sound boxes are simply a row of adjacent squares drawn on a piece of paper, where each square represents a single sound (phoneme) in a word, rather than a single letter.
For example, the word “duck” has four letters, but it only contains three sounds: /d/ – /u/ – /k/. By drawing exactly three boxes for the word “duck”, you provide vital spatial scaffolding. It visually proves to your child that the “c” and the “k” share a single box because they make one sound.
A Simple 4-Step Routine
Here is a highly effective, screen-free routine you can use to introduce digraphs like sh, ch, th, and ck without the tears:
- Hear and Say: Start by removing the printed word entirely so they can focus on hearing the sounds. Show them a simple picture of the target word (like a ship) and have them say the word aloud.
- Segment the Sounds: Have them tap a physical object – like a wooden bead or a button – for every individual sound they hear in the word. For “ship”, they will tap three times: /sh/ – /i/ – /p/.
- Map the Word: Draw three blank sound boxes on a piece of paper. Have your child write the letters into the boxes (or physically slide letter tiles into them). The true “aha!” moment happens here when they physically place both the “s” and the “h” into the very first box together!
- Write it Out: Finally, have them use their writing muscles to write the complete word freehand on a dotted-thirds guideline. Physically writing the word out sound-by-sound acts as the “neural glue” that permanently bonds the visual spelling and the spoken sound together in their brain.
You do not need to spend 45 minutes drilling these complex rules. A short, fast-paced 10-to-15-minute micro-session using this physical sound mapping method is all it takes to keep their engagement high and build true decoding stamina.
Ready to stop the sounding-out struggle? If you want a beautifully clean, zero-prep way to start mapping digraphs with your child tomorrow morning, download the Free Homeschool Blending Toolkit. It includes a reusable “Read, Map, Write” master mat with perfectly structured sound boxes to help you guide your child through this routine with confidence.