

Phonemic Awareness Activities: A Hands-On Sound Mapping Routine for Preschoolers
Sitting at the kitchen table with a four – or five-year-old, trying to build the foundations of reading, can feel incredibly overwhelming. If you have been researching early literacy, you have likely heard that your child needs “phonemic awareness” before they can read. But what does that actually mean?
In plain English, phonemic awareness is simply the ability to hear and manipulate individual sounds in spoken words. It is the crucial realization that a spoken word like “cat” isn’t just one big sound, but actually three tiny, distinct sounds pushed together: /c/ – /a/ – /t/.
Before you start drilling flashcards or downloading heavily gamified digital reading apps to teach this, take a deep breath. Cognitive science shows us that early readers do not need more screen time to build this skill. In fact, their brilliant, developing brains need the exact opposite. They need a calm, tactile, and physical connection to sounds. Here is a simple, 5-minute, hands-on sound mapping routine you can do at your kitchen table today to build incredible reading readiness.
The Science: Why We Map Sounds Physically
Phonemic awareness is fundamentally an auditory skill – it is about what a child hears. However, cognitive reading research demonstrates that teaching these sounds is far more effective when we physically anchor them.
For a preschooler, holding three abstract, invisible sounds in their short-term memory long enough to blend them together requires immense cognitive effort. If we ask them to do it all in their head, they quickly experience working memory overload and become frustrated.
To prevent this, we use a technique called “sound mapping” with physical objects. By giving your child a physical token – like a wooden bead, a small stone, or a ball of play-doh – to represent each sound, you externalize the working memory load. Suddenly, those invisible sounds become concrete, tangible things they can touch and move.
The 5-Minute Tactile Sound Mapping Routine
You do not need an elaborate sensory bin or hours of prep time to do this. You just need a piece of paper, a marker, and three small objects (buttons, wooden tiles, or play-doh).
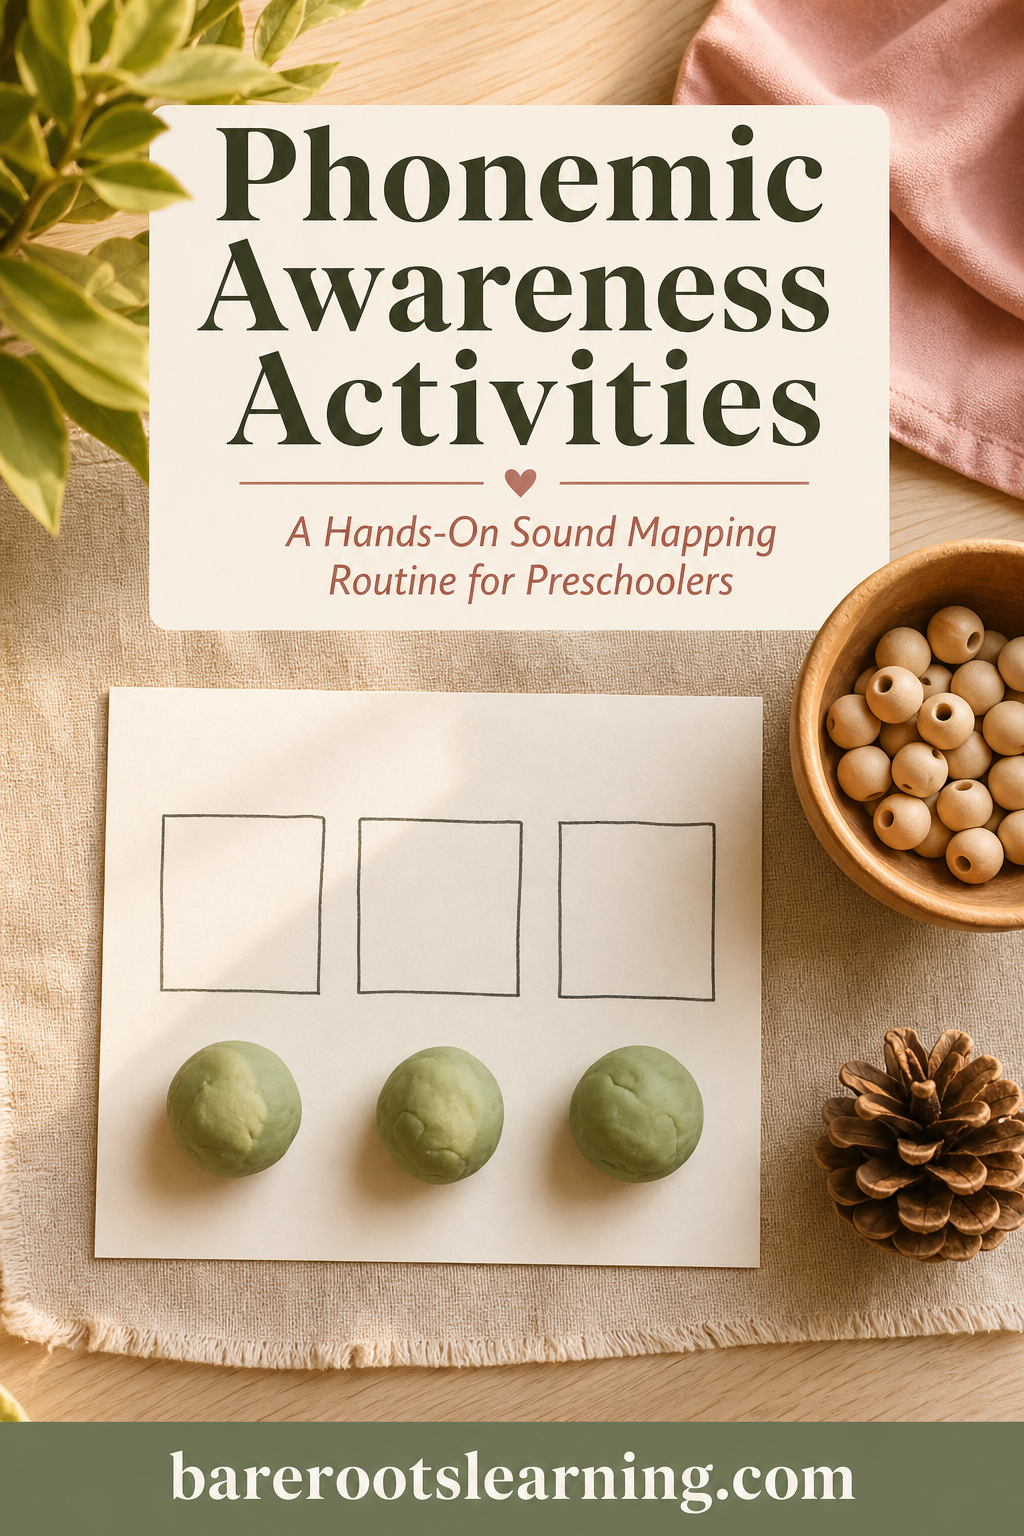
Step 1: Draw the Sound Boxes (Elkonin Boxes) Draw three simple squares in a row on a blank piece of paper. In reading science, these are called Elkonin boxes, and they act as visual boundaries for sounds.
Step 2: Hear and Say Give your child a simple, three-sound word, like “sun.” Have them repeat the word out loud, stretching it out slowly like a rubber band: “sssuuunnn.”
Step 3: Tap or Smash the Sounds This is where the magic happens. Ask your child to isolate each sound they hear. For every single sound, they must physically move an object into one of the empty boxes from left to right.
- They say /s/ and push a button into the first box.
- They say /u/ and push a button into the second box.
- They say /n/ and push a button into the third box.
Parent Tip: If you want to make this even more engaging, roll up three small balls of play-doh. Have your child physically “smash” each ball of dough with their finger as they say the corresponding sound. The physical feedback to their motor cortex anchors the learning deeply into their memory!
Step 4: Blend it Together Finally, have them slide their finger underneath the three boxes from left to right, smoothly blending the sounds back into the whole word: “sun.”
Keep It Short and Sweet
Preschoolers only need micro-bursts of instruction. A 5-minute routine of smashing play-doh or sliding wooden beads to map sounds is far more effective than a 30-minute worksheet marathon. Once they map three or four words, praise their hard work and declare the lesson a success!
Ready to ditch the prep fatigue? If you want to build a confident reader without spending your evenings cutting and laminating, download the Free Early Phonics Toolkit. It includes ready-to-use sound mapping mats and a parent observation guide designed specifically for this critical preschool stage. Simply enter your details below then open and go, right at your kitchen table!