

What Blending Actually Means – And a 3 Step Way to Teach It at Home
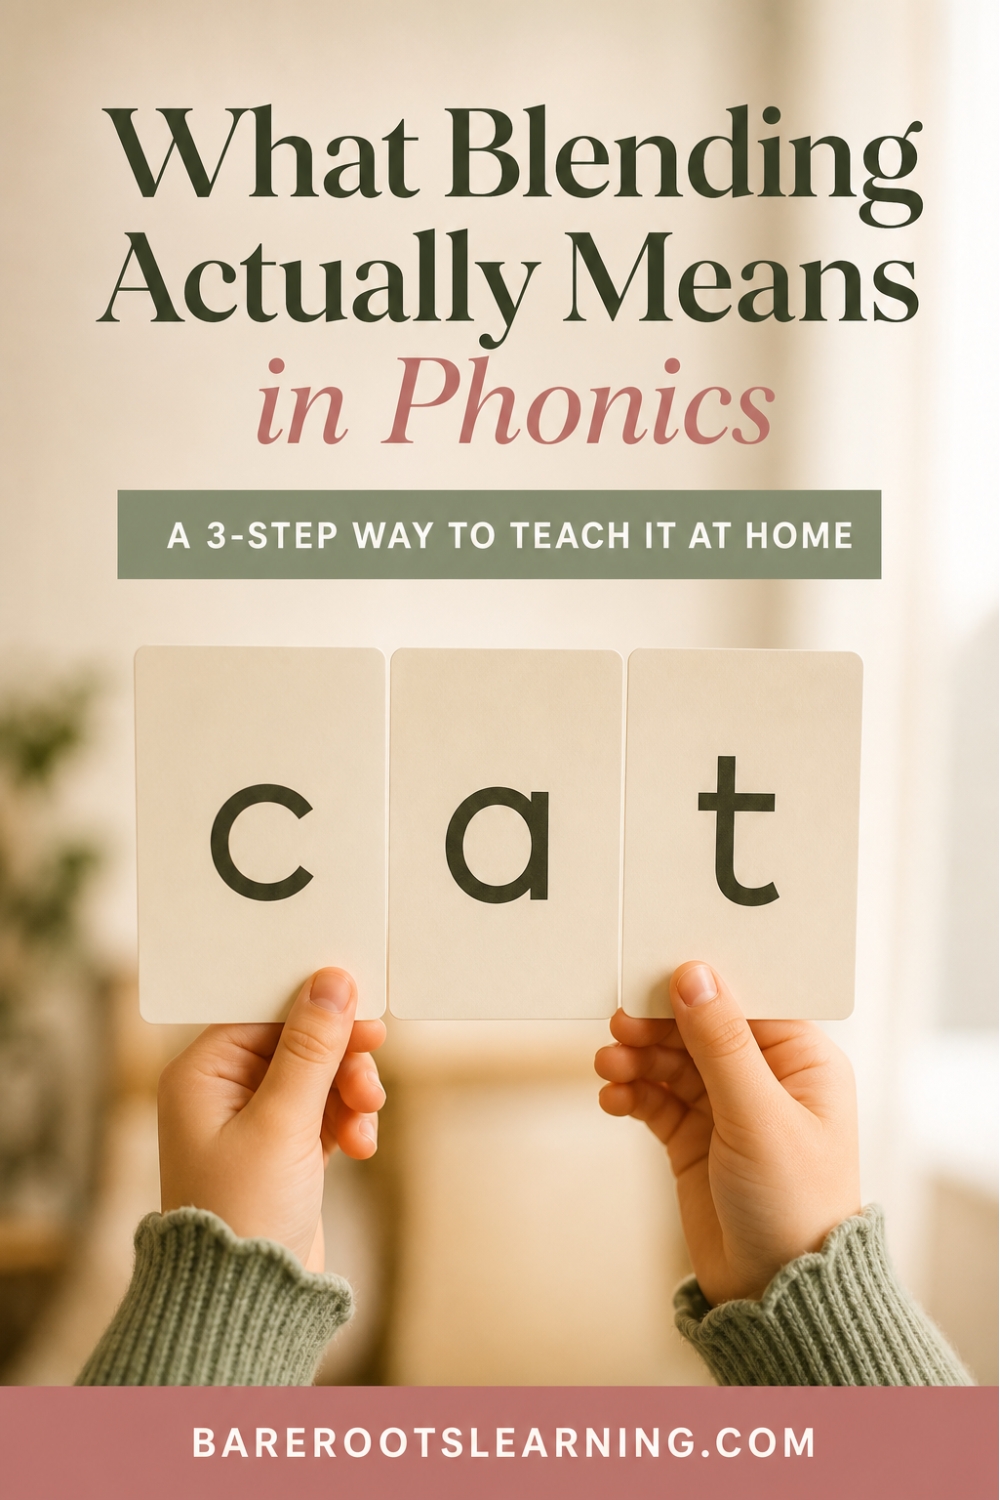
“Sound it out” is probably the most common piece of reading advice given to children. But there’s a problem: most children have never been shown what that actually means in practice.
Sounding out isn’t one skill. It’s three. And when a child struggles to blend, it’s almost always because one of those three steps has been skipped.
Here’s how to teach all three — clearly, simply, at your kitchen table.
What Blending Actually Is
Blending is the process of taking individual sounds – /c/, /a/, /t/ – and pushing them together smoothly to produce a recognisable spoken word: “cat.”
It sounds simple. For a child who can already do it, it feels instant and effortless. But for a child who is learning, it requires holding multiple sounds in working memory at the same time while performing a smooth mental merge. That’s genuinely hard cognitive work.
The key is breaking the process down into steps small enough that each one is achievable on its own.
Step 1: Segment – Tap Out Each Sound
Before a child can blend sounds together, they need to be able to hear them apart.
Say a simple CVC word – “hop.” Ask your child to tap once on the table for each sound they can hear. Not each letter – each sound. The word “hop” has three sounds: /h/, /o/, /p/.
If your child taps twice or four times, slow the word down and tap it with them. Say it in slow motion: “hhhh… ooo… p.” Then tap together.
This step alone – just isolating and counting sounds – is worth practising for several sessions before moving to blending. It builds the phonemic awareness that blending depends on entirely.
Step 2: Hold – Keep the Sounds in Working Memory
This is the step that almost never gets taught explicitly, and it’s where most struggling blenders fall apart.
After tapping out three sounds, ask your child to say the first sound and hold it – not move on yet. Then add the second sound. Then the third. The sounds should stack up, one at a time, like building blocks.
A practical way to do this: use three fingers. Touch the first finger and say /h/. Touch the second and say /o/. Touch the third and say /p/. The fingers give working memory something physical to hold onto while the sounds accumulate.
The goal is that by the time they’ve touched all three fingers, all three sounds are still present in their head – not just the last one.
Step 3: Blend – Push the Sounds Together
Now comes the merge. Ask your child to sweep a finger slowly across all three fingers at once, from left to right, while running the sounds together: “/h/… /o/… /p/… hop.”
The sweep should be continuous – not three separate taps, but one smooth sliding motion. This physical continuity models what the voice needs to do: not “/h/ – /o/ – /p/” with gaps, but “/h-o-p/” run together into one spoken word.
When this clicks, children often look genuinely surprised – they decoded it themselves! That moment is worth protecting. Don’t rush past it.
What to Do When It Isn’t Working
If your child segments perfectly but can’t blend, the issue is almost always Step 2 – the holding. The first sound is disappearing from memory before the third one arrives.
Try this: instead of tapping, ask your child to hold up fingers one at a time without putting them down. All three fingers stay up. By the time they get to the third sound, they can see all three sounds still present – first finger, second finger, third finger – and the merge becomes much more concrete.
Another option is to slow the blend down dramatically. Stretching sounds works especially well with continuant consonants – sounds you can physically hold: /mmm/, /sss/, /fff/, /lll/. Start with words that begin with these sounds, like “sun,” “log,” “man,” “fan.” Save words beginning with stop consonants (/b/, /p/, /t/, /k/) for when blending feels more natural.
Practise Little and Often
Five minutes of blending practice three or four times a week produces faster results than a long session once a week. The goal is automaticity – eventually the three steps happen so fast they’re invisible, and reading feels effortless.
That’s exactly what you’re building toward, one small session at a time.
Try the free Homeschool Blending Toolkit first – a seven page introduction to sound mapping you can download and use today. Simply fill in your details below to get immediate access.